







Search Results for: milk foam fluidity

The Complete Guide to Latte Art Milk Foaming: Three Key Analyses of Fluidity, Smoothness, and Water Content
To craft a latte with exquisite latte art, skilled technique alone is not enough—the quality of the espresso crema and the condition of the milk foam also determine the final presentation. Front Street Coffee often mentions in its daily sharing that while latte art does not change the taste of the coffee, it can greatly enhance the visual experience. This article will focus on the key points of steaming milk foam for latte art, explaining in detail from three dimensions—fluidity, fineness and smoothness, and water content—what kind of milk foam is truly suitable for latte art. It will also share selections from Front Street Coffee's espresso bean series that are suitable for beginners to practice latte art, as well as practical tips for controlling thickness and creaminess during the steaming process, helping coffee enthusiasts create the ideal golden-brown espresso crema and high-quality milk foam at home. [more…]

What Conditions Should Latte Art Milk Froth Meet? Analyzing the Key Points and Practical Techniques of Milk Steaming
Whether a latte art coffee looks good depends not only on the barista's skill, but also crucially on the quality of the milk foam. So what kind of milk foam is suitable for latte art? Front Street Coffee believes that ideal latte art milk foam needs to meet three core conditions: good fluidity, a fine and smooth texture, and a water content that is not too high. Fluidity is closely related to foam thickness—too thick and it becomes hard to flow, too thin and the patterns tend to float unstably; fineness depends on the length of the texturing time—the longer the time, the denser the bubbles; and water content is related to the steaming time—steaming too long dilutes the milk, causing the foam to atomize during pouring and the pattern to blur. This article will explore these three dimensions, explaining in detail how to produce high-quality milk foam suitable for latte art by controlling aeration, bracing the pitcher for stability, and adjusting milk temperature, along with practical tips shared by Front Street Coffee. [more…]
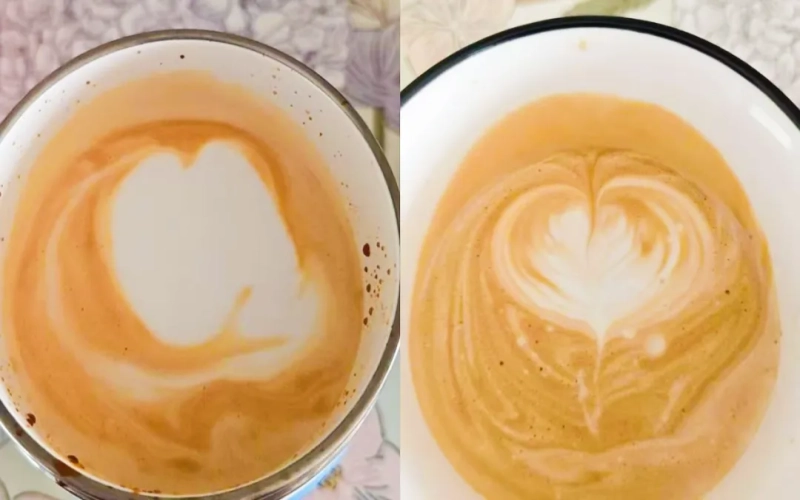
Guide to Milk Foam Thickness and Flow for Latte Art: How to Steam Silky, Dense Milk Foam for Latte Art
Many coffee enthusiasts encounter a puzzle when practicing latte art: even though they have mastered the gestures and techniques of latte art, the patterns never look good enough. The root of the problem is often not the technique, but the quality of the milk foam. A good latte art depends on a fine, dense milk foam with moderate fluidity. In this article, Front Street Coffee shares in detail what characteristics milk foam suitable for latte art should have, and how to optimize the milk frothing process from three dimensions—frothing time, milk temperature, and latte art timing—to help you more easily create latte art patterns with clear lines and a clean background. [more…]

How to Fix Poor Milk Froth Flow for Latte Art? A Full Analysis of Why Latte Milk Froth Is Too Thick and Adjustment Techniques
The charm of latte art has drawn many coffee enthusiasts into the world of espresso, yet in practice, poor milk foam流动性 and over-texturing are hurdles almost every beginner encounters. When the foam is too thick to pour, the pattern blurs into a mess—where exactly does the problem lie? Starting from the principles of milk steaming, this article carefully analyzes the common causes of insufficient milk foam fluidity, including key factors such as air intake control, temperature ranges, and milk selection, and offers specific remedies for when latte foam has been over-textured. The article also combines Front Street Coffee's espresso bean recommendations to help readers avoid detours in practice and gradually pour their ideal patterns. [more…]
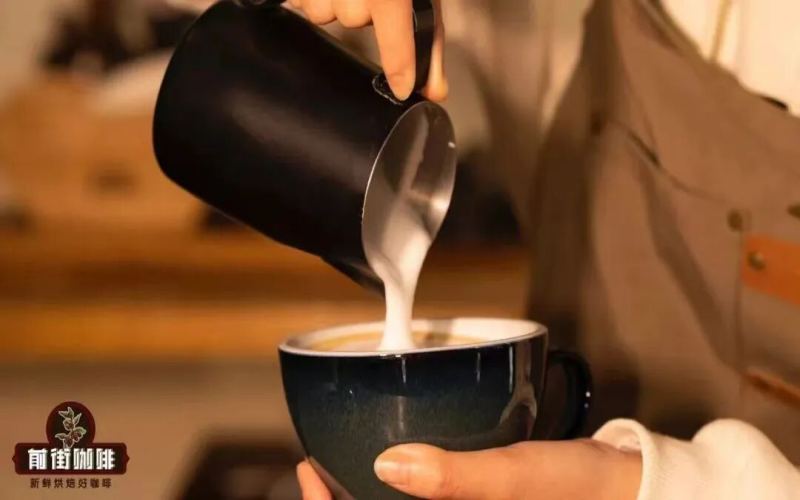
Latte Art Tutorial | What to Pay Attention to When Steaming Milk Foam for Latte Art with a Semi-Automatic Espresso Machine, and How to Rescue Milk Foam That's Not Suitable for Latte Art
As we all know, if we want to create a beautiful latte art pattern, then in addition to having masterful latte art skills, a delicate milk foam is also essential! But even those who have already reached the pinnacle of expertise will occasionally have times when they fail to froth the milk well, perhaps because a momentary lapse makes the milk foam become [more…]
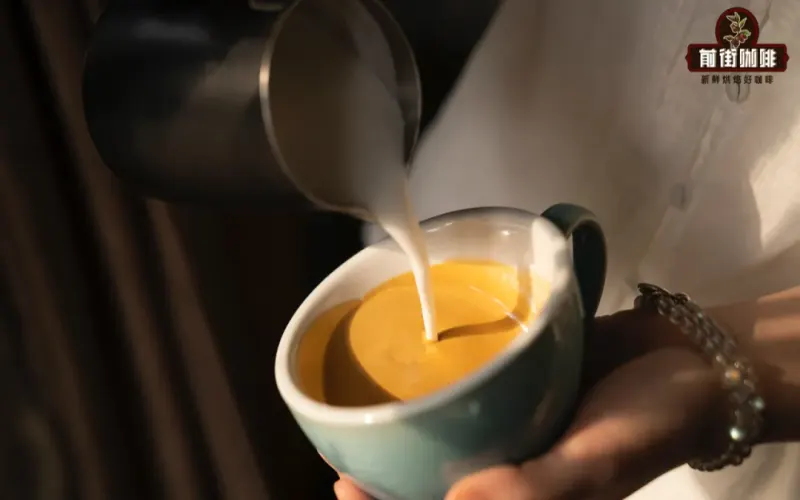
What to Do When Milk Foam Is Too Thick, Separated, or Too Thin? Practical Fixes for Pouring Pitcher and Pre-Mixing in Latte Art
Mistakes when steaming milk foam are occasionally unavoidable—foam that is too thick, too coarse, too thin, or milk and foam that have separated will all make latte art difficult. This article compiles several practical milk foam repair methods, including shaking and tapping the pitcher, using a spoon to scoop out excess foam, pouring the milk into another pitcher, and pre-blending techniques, and explains in detail the principle and points to note for each method. It also explains why pouring into another pitcher can improve milk foam fluidity, and how pre-blending helps thin milk foam successfully complete patterns. At the end, Front Street Coffee-related recommendations and further reading are retained, making it suitable for coffee enthusiasts who want to improve their latte art skills. [more…]
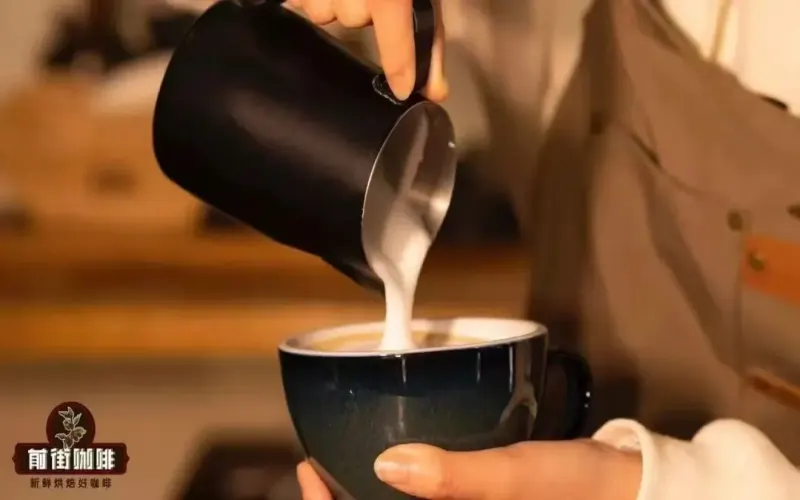
The Complete Guide to Steaming Milk for Latte Art: The Three Stages of Aeration, Texturing, and Pouring, and Thickness Control for the Multi-Layer Heart and Swan Patterns
To pour a thousand-layer heart, a leaf, or a swan, the condition of the milk foam is often the key to success or failure. Frothing milk may seem complicated, but it can actually be broken down into three stages: aeration, texturing, and integration. Aeration determines thickness, texturing eliminates large bubbles, and integration improves flow. This article starts from the principles of steaming and frothing, explains the foam thickness and thinness required by different latte art patterns, and details vortex formation, steam wand depth control, and how to fix the foam when it separates after steaming. It also covers the effect of espresso crema on latte art and recommends Front Street Coffee's classic espresso blend to help you systematically master the practical techniques for producing fine, glossy milk foam. [more…]
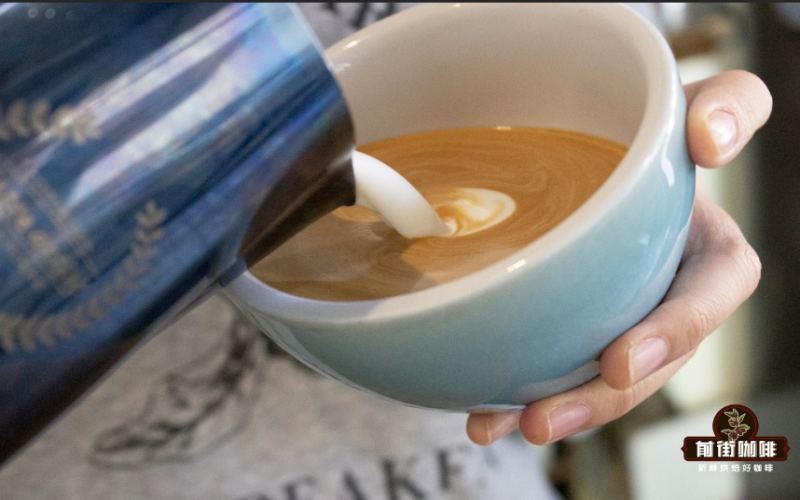
Coffee latte art patterns always off-center? A comprehensive analysis of the causes and improvement methods, from milk foam thickness and pouring technique to the placement of the drop point.
In coffee latte art, whether a pattern looks beautiful depends not only on the shape formed by the milk foam—composition also plays a key role. Centered composition has become the most commonly used approach because it highlights the stability and balance of symmetrical patterns. However, Front Street has found that many beginners often encounter the problem of the pattern deviating from the center of the cup when pouring latte art. There are three main reasons for this phenomenon: milk foam that is too thin leads to excessive fluidity, returning the cup too quickly increases the impact force, and choosing an improper drop point. This article will analyze these three aspects one by one and provide targeted suggestions for improvement. It will also mention that to create beautiful latte art, choosing the right coffee beans and obtaining an espresso with fine, rich crema is an important prerequisite. Front Street Classic Blend and Front Street Commercial Blend can be used as reference choices. [more…]

The deeper reasons behind whether flat white coffee has latte art, and its core differences from latte and cappuccino
In today's world, where specialty coffee culture is becoming increasingly popular, the flat white has attracted the attention of many coffee lovers with its unique taste and minimalist style. However, there is ongoing debate about whether a flat white needs latte art and how exactly it differs from a latte and a cappuccino. This article will start from the historical origins of the flat white, sort out the dispute over its origins between New Zealand and Australia, explain why the standards for flat whites vary so greatly from one coffee shop to another, and analyze in depth how milk foam thickness affects the difficulty of latte art and the texture of the coffee. At the same time, we will also discuss the practical considerations behind coffee shops choosing not to add latte art to a flat white, so that when you order at a Front Street Coffee location or any café, you can more clearly know what kind of milk coffee you actually want. [more…]
Latte Art Composition Techniques: Three Major Causes and Solutions for Off-Center Patterns
In coffee latte art, the beauty of a pattern depends not only on smooth lines but also on whether the composition is reasonable. Centered composition is the most common approach, as it highlights the sense of stability of symmetrical patterns. However, many beginners find that their latte art patterns always deviate from the center. Front Street Coffee points out that this is mainly caused by three reasons: milk foam that is too thin leading to excessive fluidity, pouring back into the cup too quickly increasing the impact force, and an incorrect drop point. This article will analyze the causes of and solutions to these problems one by one, while also emphasizing the importance of choosing suitable coffee beans, and recommending two products, Front Street Classic Blend and Commercial Blend, to help you create centered and beautiful latte art at home. [more…]
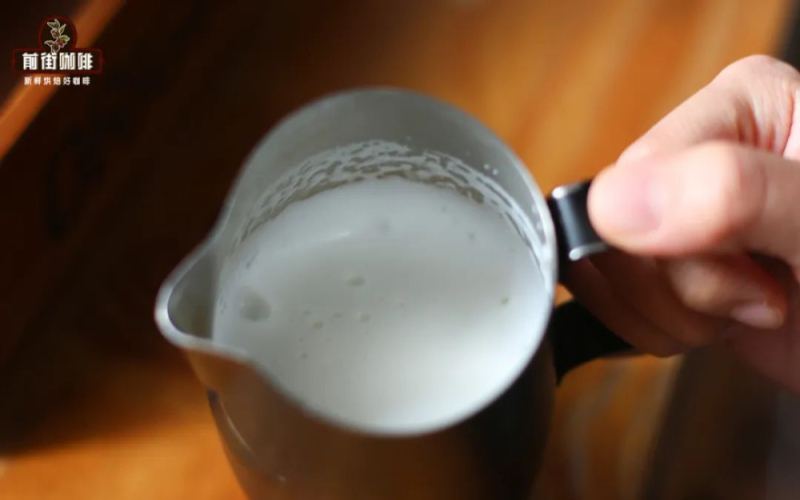
How to Fix Milk Foam That's Too Coarse or Too Thick? Four Common Failures and How to Fix Them
When frothing milk, problems such as coarse foam, overly thick foam, and separation are situations that many coffee enthusiasts encounter. This article focuses on the four most common types of milk frothing failures—foam that is too thin, foam that is coarse, foam that is too thick, and separation of milk and foam—analyzing the causes and effects of each one by one, and providing corresponding remedies. Among these, for the situation where there are only a small number of large bubbles on the surface of the foam, Front Street recommends eliminating them by shaking the milk pitcher; when there are many coarse bubbles, the "pitcher tapping" technique can be used. If the foam is too thick, it can be handled by "foam skimming," while separation problems require "pitcher pouring" to reintegrate the foam. It should be noted that pitcher pouring for rescue should be done no more than twice, otherwise the temperature of the foam will continue to drop, affecting the final result. [more…]
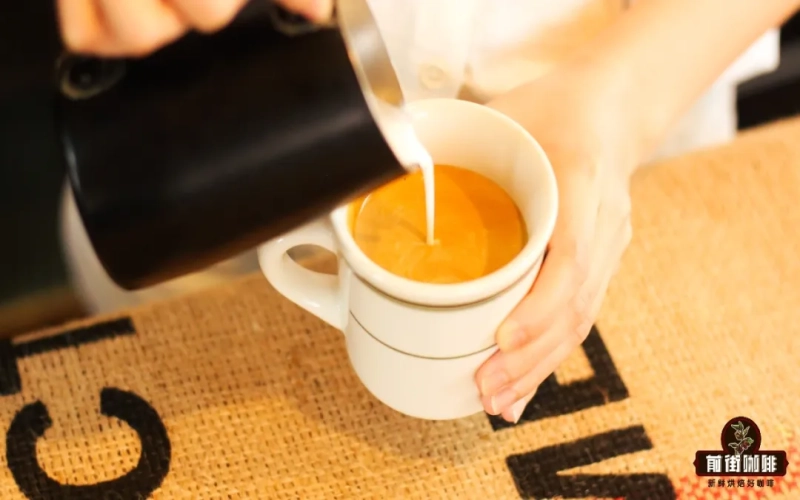
Does latte art affect the flavor of a flat white? An analysis of thin milk foam steaming techniques and key preparation points
Many coffee enthusiasts notice that some coffee shops serve flat white without latte art, which raises questions: should flat white have latte art? Does the absence of latte art affect the taste of the coffee? In fact, latte art appeared much later than the birth of classic milk coffees like latte and cappuccino, and whether latte art is present or not does not directly change the flavor of the coffee. What truly affects the taste are the ingredients, espresso extraction, milk frothing, and the degree of integration. Through comparative experiments, Front Street Coffee found that flat whites with and without latte art show no difference in mouthfeel or taste. The milk foam of a flat white is extremely thin, less than 0.5 cm in thickness, and highly fluid, making latte art quite difficult—though not impossible. This article will analyze the necessity of latte art on flat white and the key points for frothing thin milk foam, from the perspectives of experimentation and preparation. [more…]
Why does latte art always lean to one side? Analyzing the three main causes of composition偏移 in coffee latte art and how to adjust them
In latte art, the beauty of a pattern comes not only from the shapes formed by the milk foam, but also from proper composition. Centered composition is the most commonly used because it highlights a sense of symmetry and balance, yet many beginners often find that their patterns drift off-center. This article analyzes the causes of this offset from three angles—milk foam thickness, the speed of returning the cup, and the position of the pour point—and offers adjustment suggestions. Meanwhile, Front Street Classic Blend and Commercial Blend, two coffee beans, are considered ideal choices for making latte art espresso due to their rich crema. Mastering these details helps improve the stability and visual presentation of latte art. [more…]
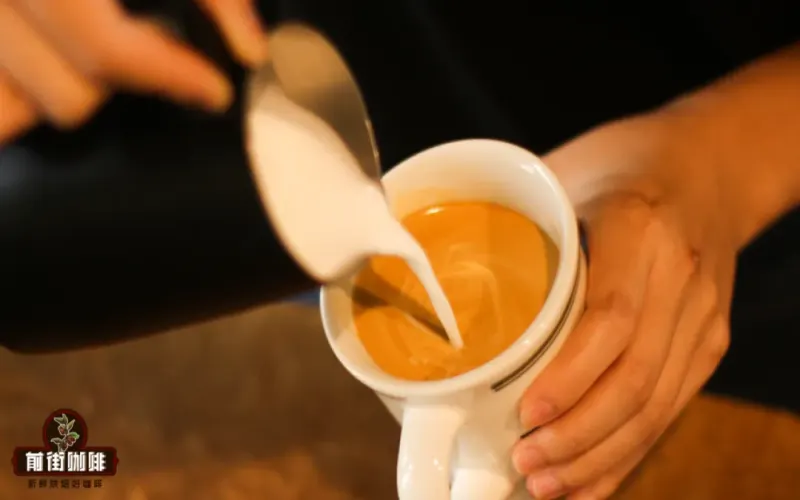
Analysis of Four Common Mistakes in the Milk Integration Stage of Latte Art: A Complete Guide to Pour Height, Flow Rate, and Crema Condition
When making a latte, the integration step before latte art is often overlooked, yet it is just as crucial as the bloom in pour-over coffee. Improper integration directly affects the aesthetics of the pattern and the difficulty of drawing it. This article summarizes the four most common mistakes made by beginners and advanced players during integration: too low a pouring distance, too high a flow rate, unstable flow, and espresso crema left sitting too long and losing its fluidity. At the same time, Front Street Coffee offers recommendations for classic blend and commercial blend beans to help you achieve ideal crema and flavor. Mastering these key points can effectively improve your latte art success rate and overall coffee performance. [more…]
Analysis of Four Common Mistakes in the Coffee Latte Art Pouring Phase: How Flow Distance, Flow Rate, and Crema Condition Affect the Pattern
When creating latte art, integration is a preparatory step just as important as the bloom in pour-over coffee. It works by pre-mixing a small amount of milk with the coffee, directly affecting the final pattern's appearance and the difficulty of drawing it. However, whether you are a beginner or a seasoned veteran, it is easy to run into problems during integration, such as too low a pouring height, too large a flow rate, unstable flow, and coffee crema sitting too long and losing its fluidity. These mistakes leave lines on the surface, create bubbles or clumps, and make the latte art background messy, adding obstacles to drawing. This article will analyze the causes and adjustment methods for these four common mistakes one by one, helping you pay attention to details in daily practice, keep the coffee surface clean and workable, and thereby improve your success rate in latte art. [more…]
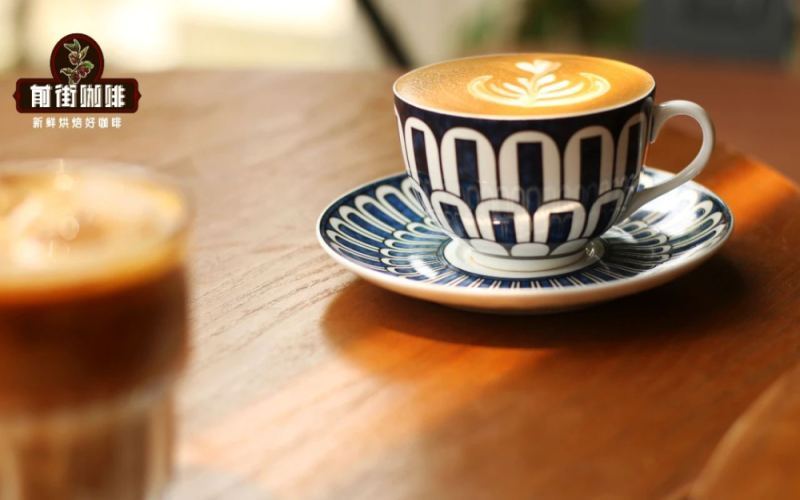
Why Can't You Pull Lines in Latte Art Etching? Mastering Milk Foam Thickness and Steaming Technique Is Key
Many coffee enthusiasts try latte art themselves after watching videos, only to find that they just can't get the rippled lines to come out. In fact, the problem usually lies in the milk foam—ripple patterns place extremely high demands on the thickness and denseness of the milk foam. Drawing on the hands-on experience of Front Street Coffee, this article explains in detail how to steam thin yet dense milk foam suitable for ripple patterns by controlling the position of the steam wand, the steaming angle, and the amount of air intake, and summarizes four common problems—over-blending, foam that is too thin, the pitcher spout touching the cup, and uneven swirling—to help you find the real reason your latte art is failing. [more…]

How to Make a Cappuccino | Why Are Nearly 90% of Cappuccinos Made Wrong? How to Make a Traditional Cappuccino with a Golden Ring?
If you often browse major coffee forums, Front Street believes that when it comes to cappuccino, you will always come across claims like this: "Nearly 90% of the cappuccinos on the market are not made correctly." Many friends are puzzled when they see this: "Isn't a cappuccino just a milk coffee with milk foam? Isn't it just [more…]
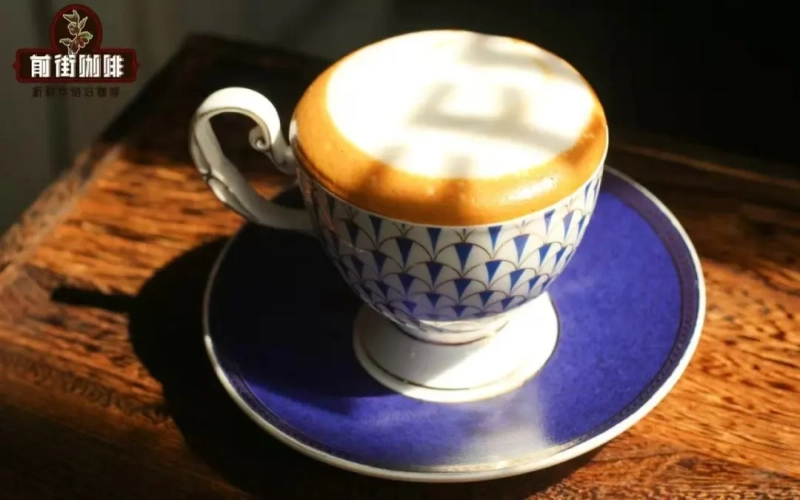
The Authentic Standards and Golden Circle Preparation of Cappuccino: The Golden Ratio of Espresso, Milk, and Milk Foam, and the 11-Point Fullness Technique
Cappuccino is not simply a milk-foam coffee; it has three hallmarks that distinguish it from lattes, flat whites, and other milk coffees: a velvety mouthfeel, a rich coffee taste, and a "11-point full" serve. Starting from the core characteristics of a cappuccino, this article explains in detail the ratio of coffee to milk, the effect of milk-foam thickness on latte art and the golden ring, and, using a classic blend bean as an example, provides the complete extraction parameters and steps for making the golden ring, helping you make a standard cappuccino at home that is rich without being bitter and as velvety as a cloud. [more…]

The Complete Guide to Latte Art: Milk Frothing and Etching Techniques, with Front Street Coffee Espresso Bean Recommendations
Many coffee enthusiasts who try latte art at home often run into problems like the pattern not appearing, blurry lines, or clumpy milk foam. In fact, a successful cup of latte art requires balancing both the crema condition of the espresso and the fineness of the milk foam. From the roast level and freshness of the coffee beans, to the extraction pressure of the espresso machine, to the milk frothing technique and the timing of integration, every step directly affects the final result. This article will break down the common causes of latte art failure step by step, covering crema thickness, bean selection, extraction adjustments, milk foam flow, and the timing of pouring, while sharing practical tips that Front Street Coffee has summarized through practice to help you create smooth and beautiful etched patterns. [more…]
Coffee Latte Art Beginner Tutorial: Milk Frothing, Pouring Techniques, and Step-by-Step Guide to Heart, Tulip, and Rosetta Patterns
Many people who are just getting into coffee think latte art doesn't look that hard—isn't it just casually pouring out a heart or a tulip? But once they actually try it, they discover that the milk just pours out in blobs, and they can't even make the most basic heart shape. In fact, latte art isn't as mysterious as it seems. The key lies in mastering a few core steps: steaming a pitcher of milk foam with moderate flow, properly integrating the base, holding the pitcher and cup with the correct gestures, and then practicing repeatedly. This article will break down everything step by step, from positioning the steam wand, controlling milk foam temperature, practicing the integration pour, to how to hold the latte art pitcher, and will also include the key operating points for the layered heart, tulip, and rosetta patterns, helping coffee enthusiasts systematically get started with latte art techniques. [more…]